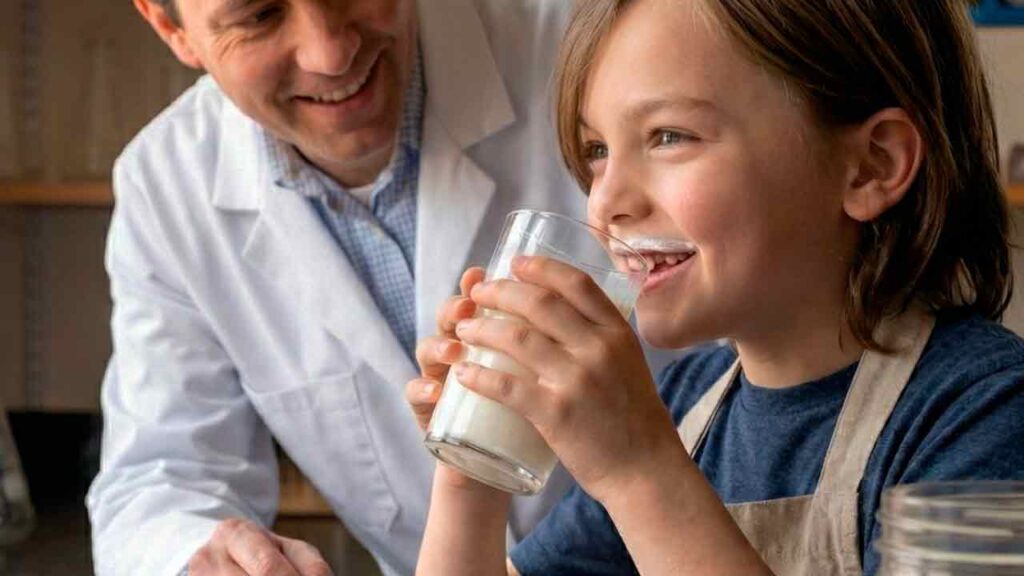
Forget baking soda volcanoes. If you want a science experiment that teaches biology, chemistry, and responsibility—and is actually edible—introduce your kids to Kefir.
Fermentation is “Biology in Action.” In this guide, we turn the kitchen into a laboratory. We will learn how invisible microbes transform sweet milk into a tangy superfood. Calling all Junior Scientists: Put on your aprons!
⚠️ Medical & Safety Disclaimer
Parents & Teachers: Please Read First.
1. Allergies: Do not perform this experiment if a child has a severe milk protein allergy (Casein). Lactose-intolerant children should proceed with caution.
2. Hygiene: Fermentation is safe only if good hygiene is practiced. Wash hands thoroughly before touching any equipment.
3. Supervision: Adult supervision is required, especially when handling glass jars or liquids. This guide is for educational purposes.
🧪 The Science: What are we doing?
Before we brew, we must understand the “Subjects.”
- The Subject: Kefir Grains. These are not plants or animals. They are a SCOBY (Symbiotic Culture Of Bacteria and Yeast). Think of them as a “Microbe Hotel.”
- The Food: Lactose. This is the natural sugar found in milk.
- The Reaction: The bacteria eat the sugar (Lactose) and turn it into acid (Lactic Acid). This makes the milk thick and sour!
FER-MEN-TA-TION
The process of bacteria changing food into something new!
📋 The Experiment Checklist
Instructions: Check the boxes as you complete each step!
Phase 1: Setup (Day 1)
- Step 1: Wash hands with soap and warm water. (Scrub for 20 seconds!)
- Step 2: Place the clean empty jar on the table.
- Step 3: Gently place 1 teaspoon of Kefir Grains into the jar.
- Step 4: Pour 1 cup of Milk over the grains.
- Step 5: Cover the jar with a paper towel and secure it with a rubber band.
- Step 6: Place the jar in a warm, dark cupboard. (No sunlight!)
Phase 2: Harvest (Day 2)
- Step 7: Wait 24 hours. Check the jar.
- Step 8: Place the sieve over a bowl.
- Step 9: Pour the jar contents through the sieve.
- Step 10: Catch the grains! Put them back in the jar for next time.
🔍 Spot the Difference: Before & After
Day 1 (Start)
What does the milk look like?
- ⬜ It is very runny (Liquid).
- ⬜ It is sweet.
- ⬜ The grains sink to the bottom.
- ⬜ No smell.
Day 2 (Finish)
How did it change?
- ⬜ It is thick (like yogurt).
- ⬜ It is sour.
- ⬜ The grains float to the top.
- ⬜ It smells like pickles/yeast.
- ⬜ There are pockets of clear water (whey).
📝 Junior Scientist Report
Copy these questions into your notebook and fill in the answers!
1. How many hours did the fermentation take?
Answer: __________________________________
2. Did the Kefir Grains get bigger or smaller?
Answer: __________________________________
3. Why do you think the milk turned sour?
Answer: The bacteria ate the sugar and turned it into ________.
4. Draw a picture of your Kefir Grains:
🛡️ Lab Safety Rules
- Rule #1: Wash Hands. Bad bacteria live on unwashed hands. We only want good bacteria in our jar.
- Rule #2: No Double Dipping. Never taste the kefir with a spoon and put the spoon back in the jar. Saliva has enzymes that digest food!
- Rule #3: Plastic is Fantastic. When learning, use plastic bowls. Glass jars can break if dropped. Parents should handle the glass.
Taste Test Tip
The final product will be SOUR.
Most kids will say “Yuck!” if they drink it plain. This is normal.
The Fix: Blend it with a banana and honey. Tell them it’s a “Super-Powered Smoothie.”
“The information provided in this article is for educational purposes only. Always consult with a pediatrician before introducing new fermented foods to a child’s diet, especially if they have a compromised immune system.”
Ready for the next experiment?
Continue your STEM journey with these guides:
- Biology Lesson: What bacteria are inside?
- Chemistry Lesson: Try Water Kefir (Fizzier!).
- Advanced Lab: Second Fermentation (Flavoring).
- Supplies: Get your Grains Here.


