How to Make Yogurt at Home with a Freeze-Dried Starter
Making your own creamy, probiotic-rich yogurt at home is simple. In this guide, we show you how to use a convenient freeze-dried starter culture and a yogurt maker for perfect results every time.
Understanding Your Freeze-Dried Starter
To make yogurt, you need a starter culture to introduce beneficial bacteria to milk. You can use fresh yogurt or a freeze-dried powdered culture. The powder consists of milk solids and dormant bacteria that “wake up” when added to milk.
Thermophilic vs. Mesophilic
Before you begin, it’s crucial to know your culture type:
- Thermophilic (Heat-Loving): Requires a consistent warm temperature (around 40-43°C) to ferment. This is the most common type for traditional, thick yogurt and usually requires a yogurt maker or warm spot.
- Mesophilic (Room-Temperature): Ferments at room temperature (around 20-25°C). This creates thinner yogurt strains like Viili or Matsoni.
This guide focuses on using a standard thermophilic freeze-dried starter (like our Bulgarian or Greek starters) with a yogurt maker.
What You Need (Checklist)
🥛 Ingredients:
- 1 Liter Milk: Whole (full-fat) pasteurized milk gives the best creamy texture.
- Freeze-Dried Yogurt Starter: One packet suitable for 1 liter.
🥄 Equipment:
- Pot & Thermometer: For heating the milk.
- Yogurt Maker: To maintain the correct incubation temperature.
- Whisk & Spoon.
Step-by-Step Instructions
1
Heat & Inoculate the Milk
Heat your 1 liter of milk to about 85°C to kill competing bacteria and improve texture. Then, let it cool down to the incubation temperature of **40°C – 43°C (104°F – 109°F)**. Once at the right temperature, add the freeze-dried starter powder and whisk thoroughly to ensure it dissolves completely.
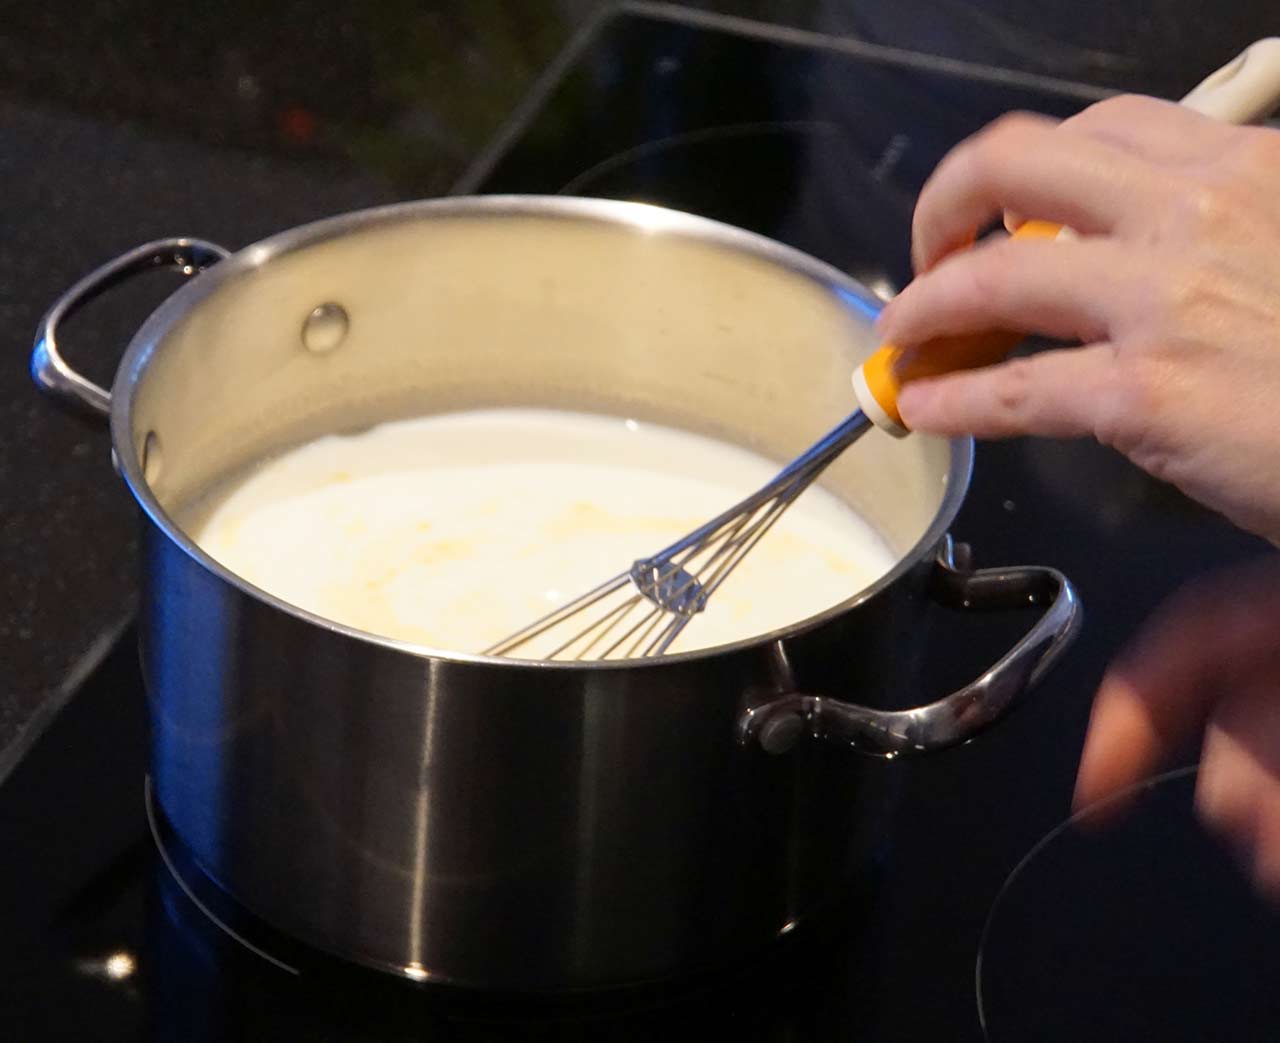
Step 1: Whisk the starter into milk cooled to 40°C.
2
Pour into Jars
Pour the inoculated milk mixture into the jars or container provided with your yogurt maker.
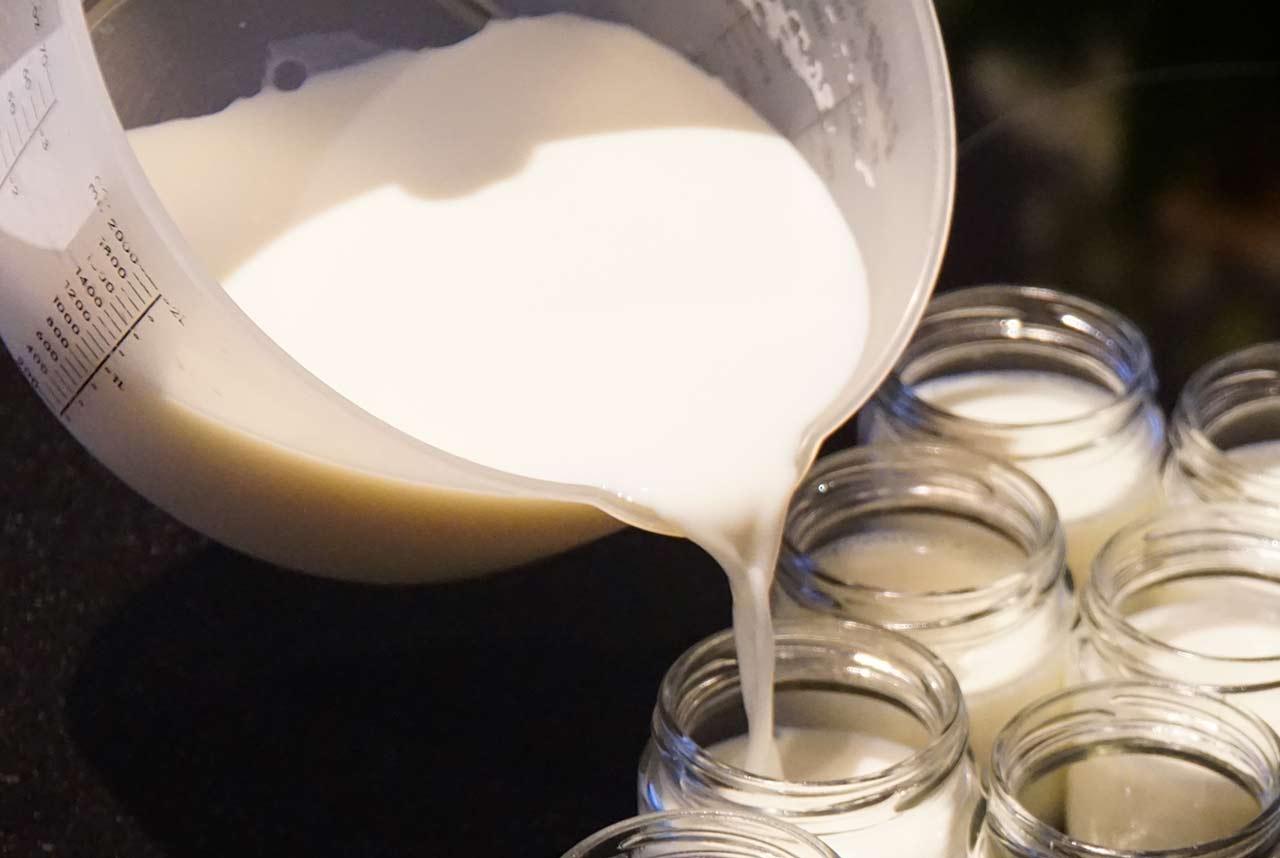
Step 2: Fill your yogurt jars.
3
Incubate
Place the jars in the yogurt maker, put the lid on, and turn it on. Leave it to ferment undisturbed for 8 to 10 hours. Do not check on it or move it during this time. The longer it ferments, the thicker and tarter it becomes.
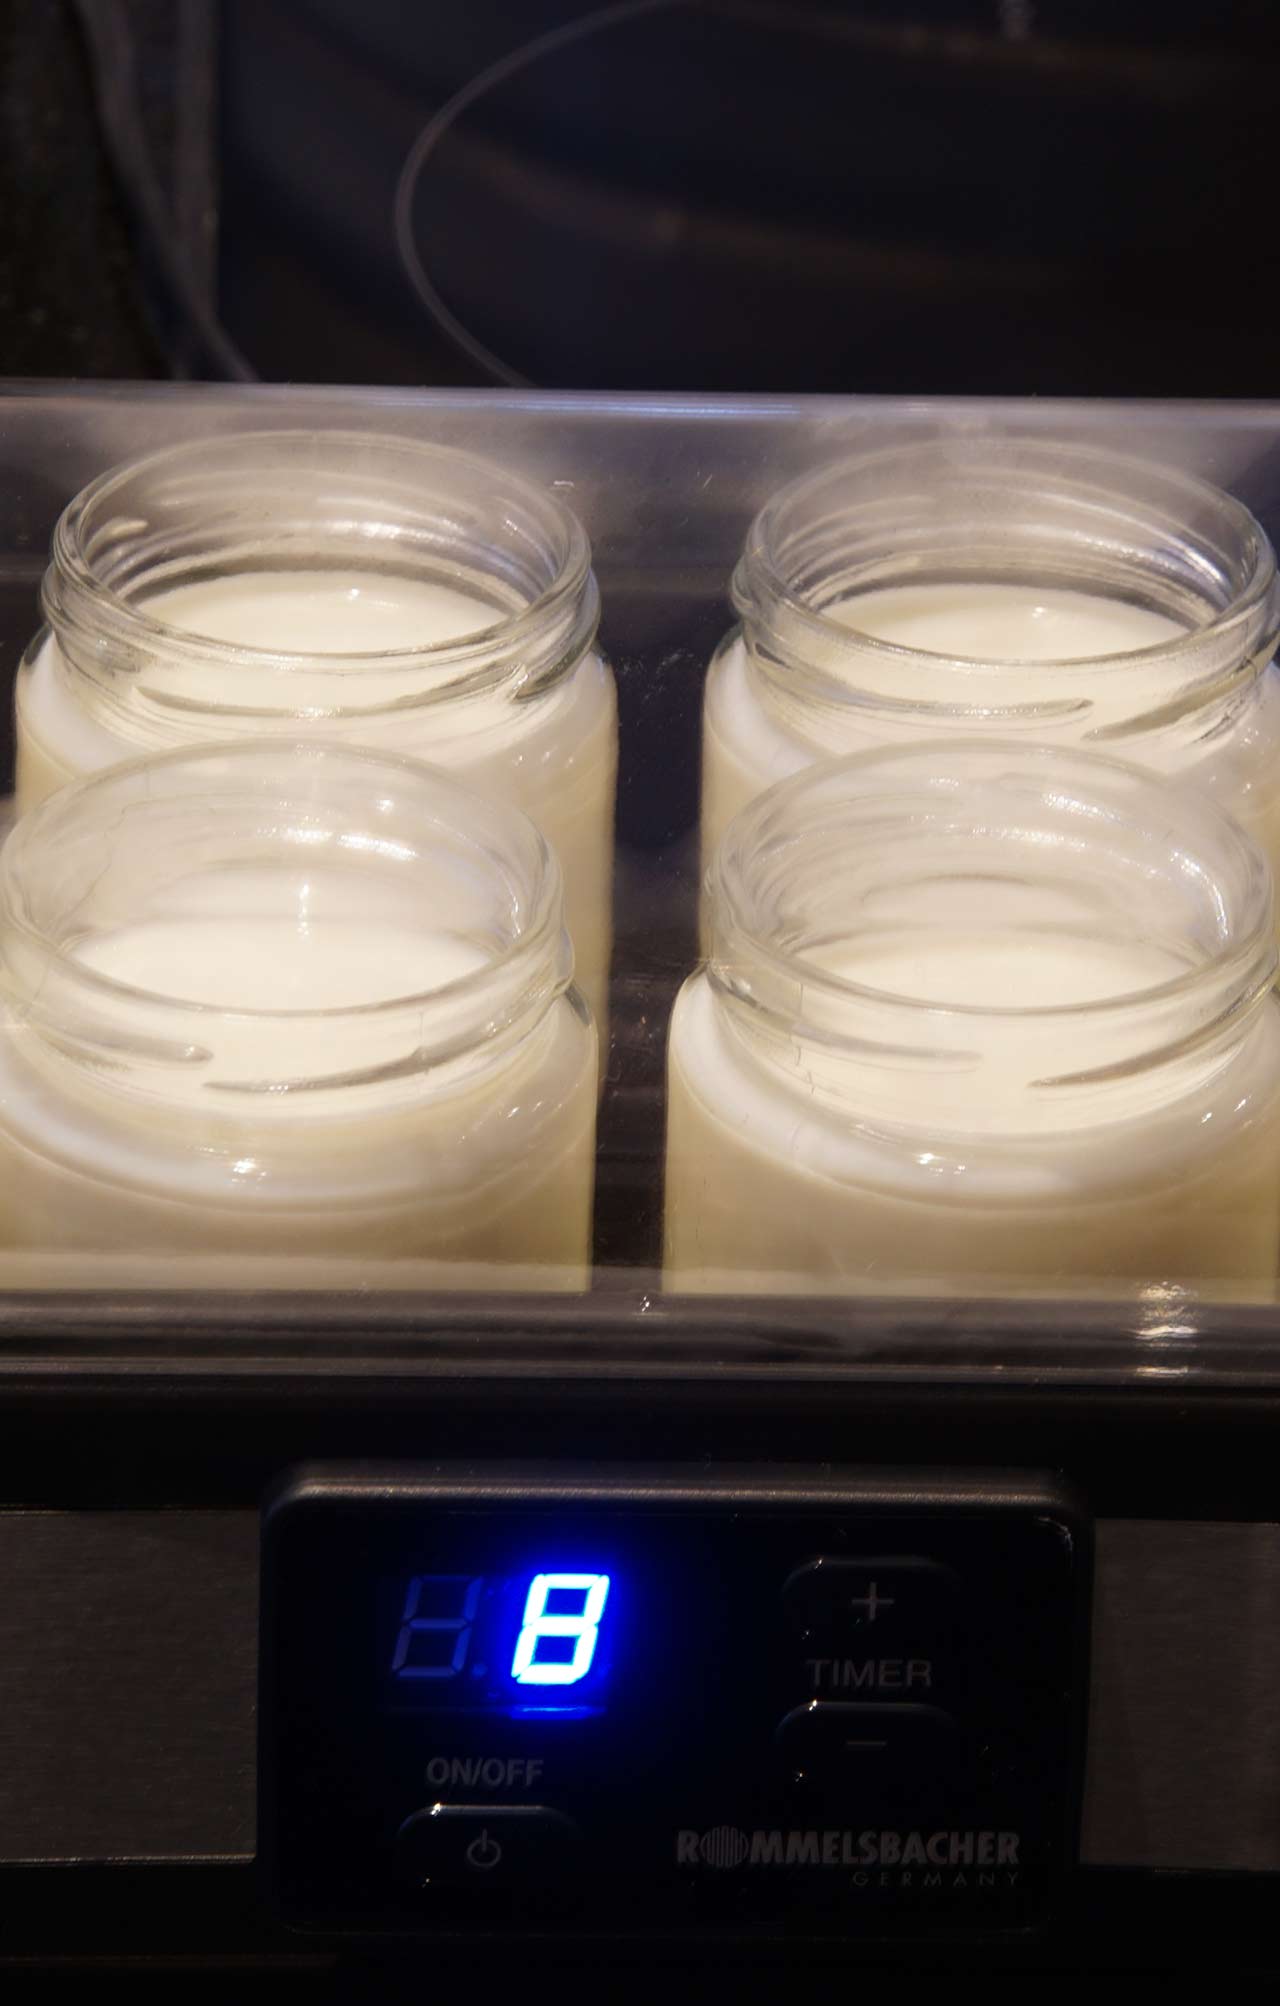
Step 3: Let it incubate for 8-10 hours.
4
Chill & Enjoy
Once set, remove the jars from the machine and place them in the fridge for at least 4 hours to firm up completely. Your yogurt is ready! Don’t forget to save a few tablespoons from this batch to start your next one.
Get a High-Quality Heirloom Starter
Not all freeze-dried starters are created equal. For the best results and the ability to re-culture indefinitely, choose an heirloom variety.
Recommended: KefirShop.eu Yogurt Starters
We recommend the organic, heirloom thermophilic starters from KefirShop.eu. Choose from classic Bulgarian for a traditional taste, or Greek for a milder flavor perfect for straining.
- ✅ Heirloom Quality: Re-culture your yogurt endlessly from previous batches.
- ✅ Pure Ingredients: Organic milk solids and live active bacteria cultures only.
- ✅ Convenient: Long shelf life in the freezer until you’re ready to start.


